What is the project?
During 2019, I completed an extended work placement with Linney of 315 hours. In this time I created a product for the Linney Regenerate team, they want to make the companies waste wonderful.
Their workflow consists of having an item “referred” to them, previously their system consisted of someone sending them an email or call them on the phone. However, there was a little amount of advertisement and there was confusion on how to send the request, and what they were looking for.
I was given access to industry standard tools which they use within the Microsoft Ecosystem, such as Azure DevOps, ASP.net MVC (.NET Core) and Visual Studio.
So, what I created was a form which any member of staff can refer and item with.
How does someone create a referral?
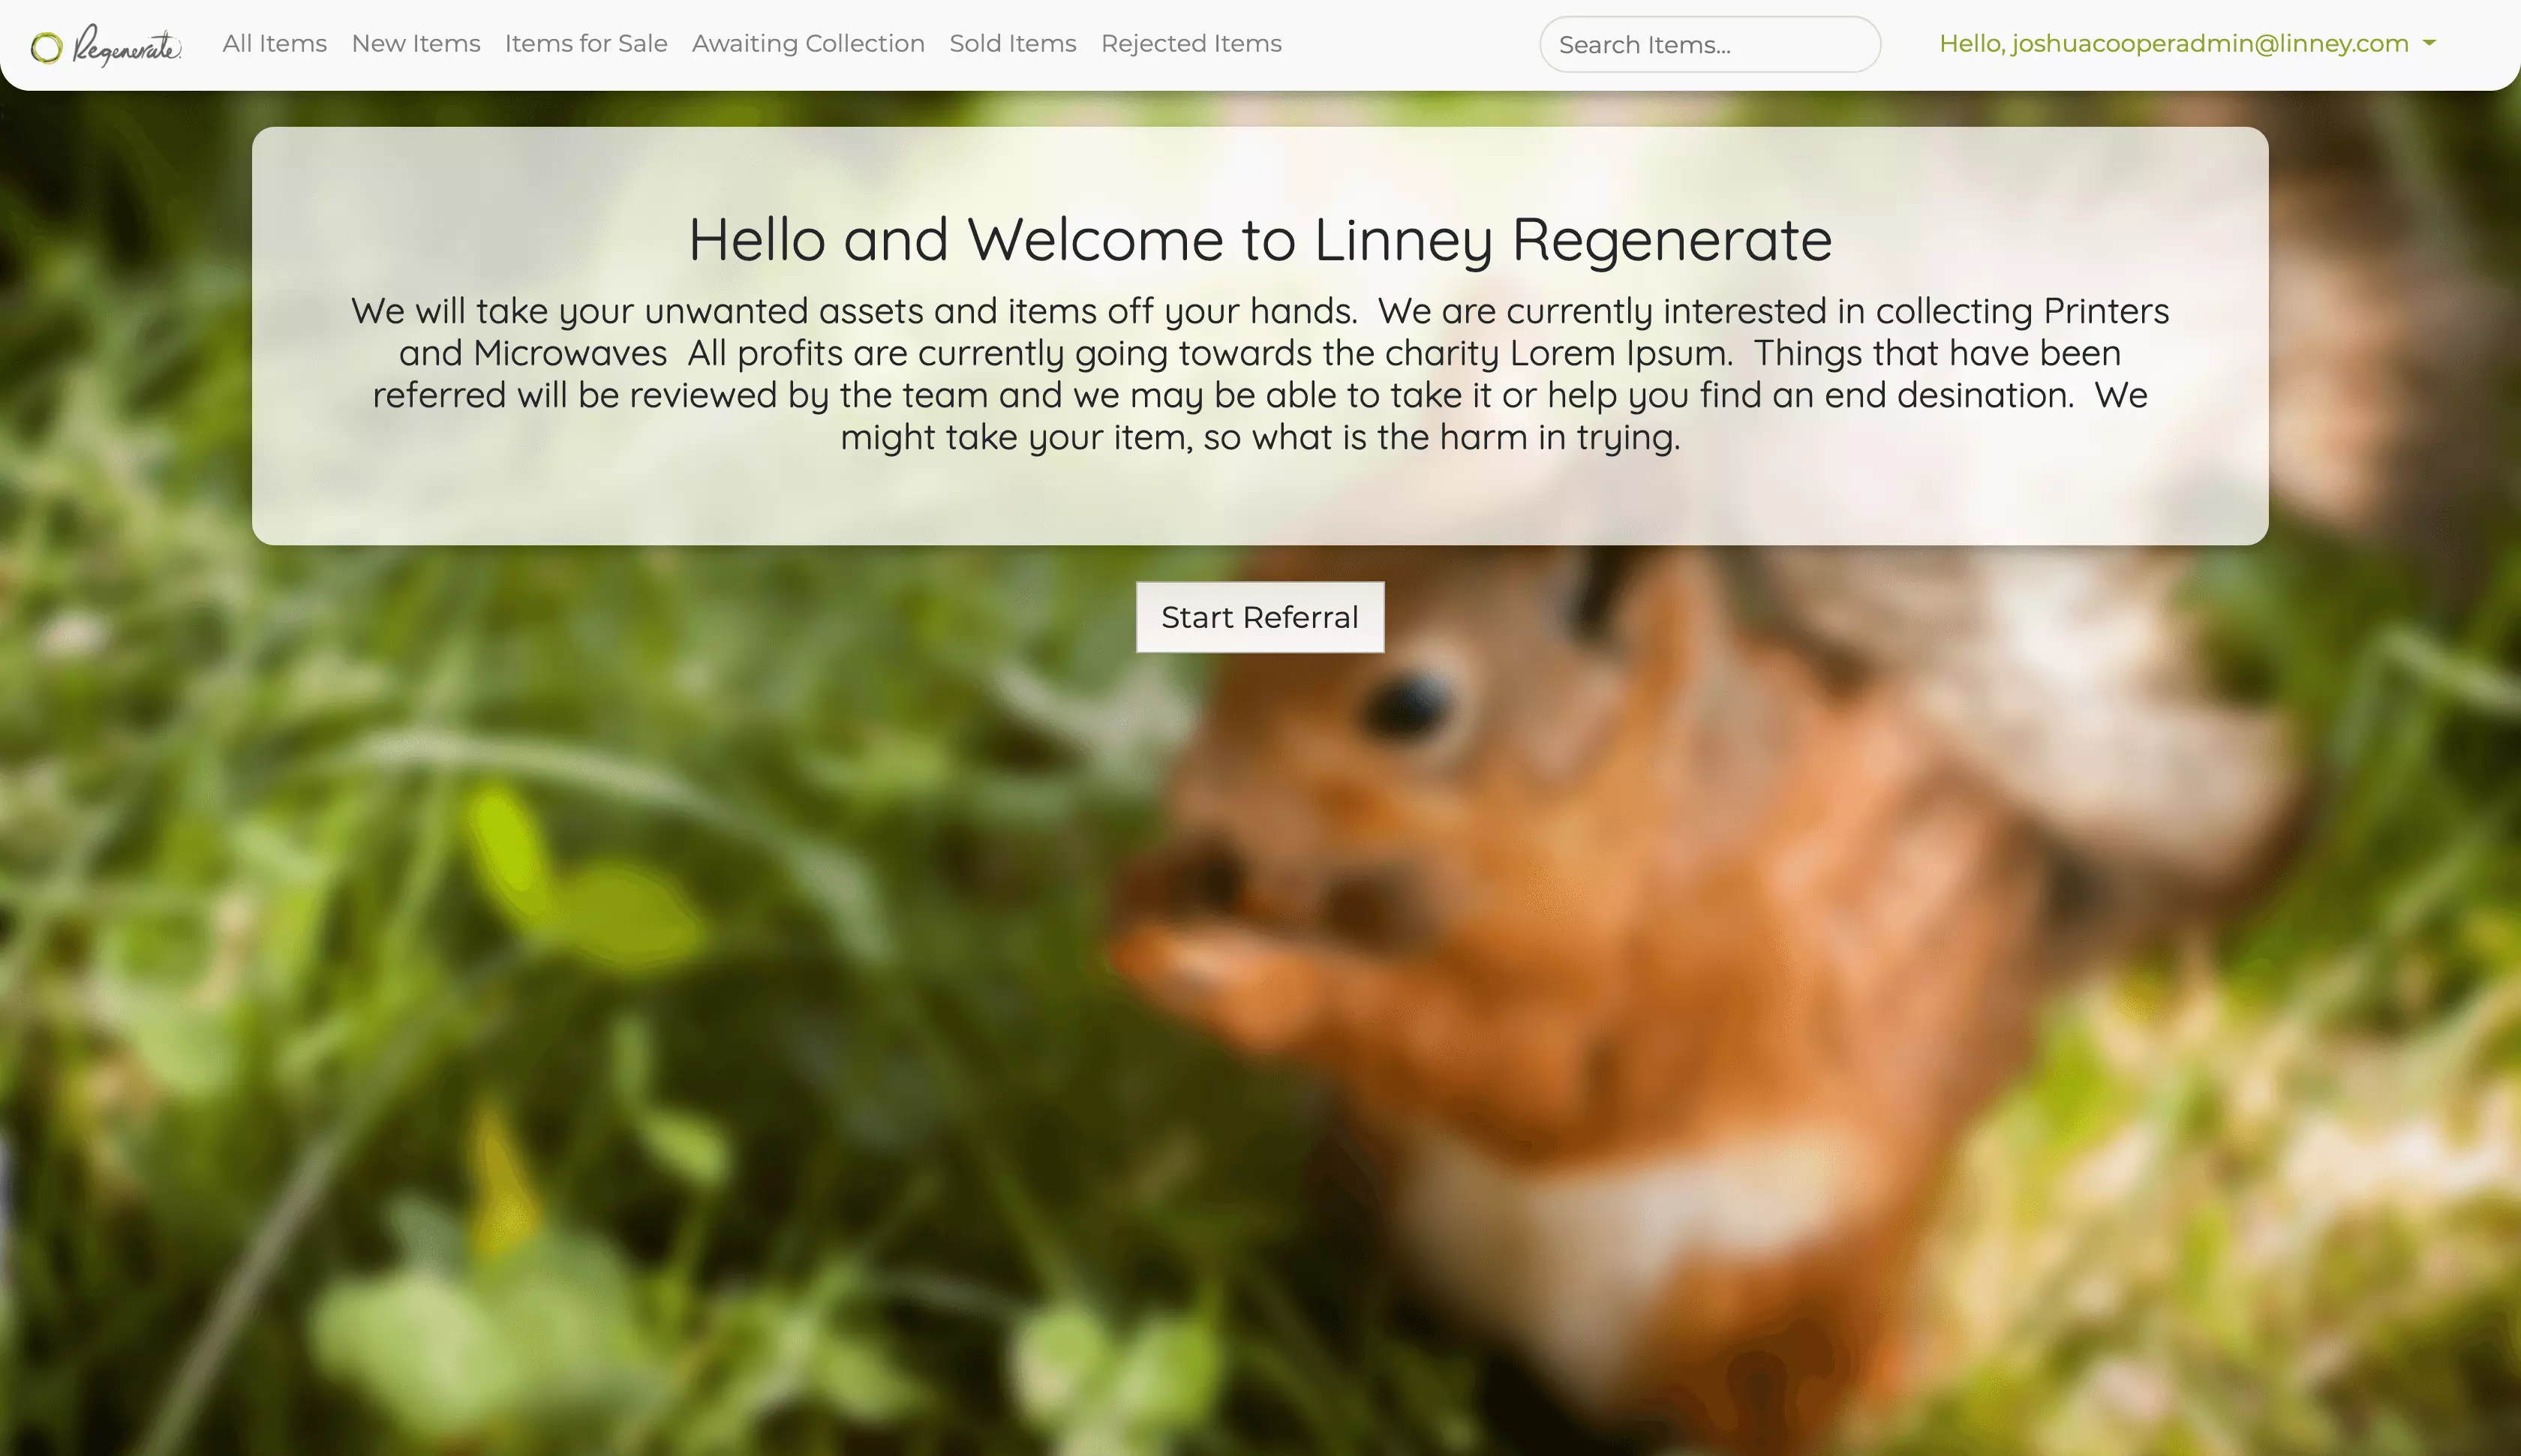
This form greets the user with a message which can be easily changed from the settings area. This allows the team to change the message regularly without needing to break into the code.
To make a referral, the user will fill in this form. This starts with “placeholder” values, this is used to give the user an idea on what needs to be entered, this is useful because it stops the user guessing.
The form uses an internal tool which has all the information about the users. This allows me to take the email address, which is provided when they log in and look up what their name and phone number are. The values are then filled into the form and but still can be changed, this allows them to change the details such as their phone number, as the system will automatically use their desk phones number, they might want to use their mobile number instead.
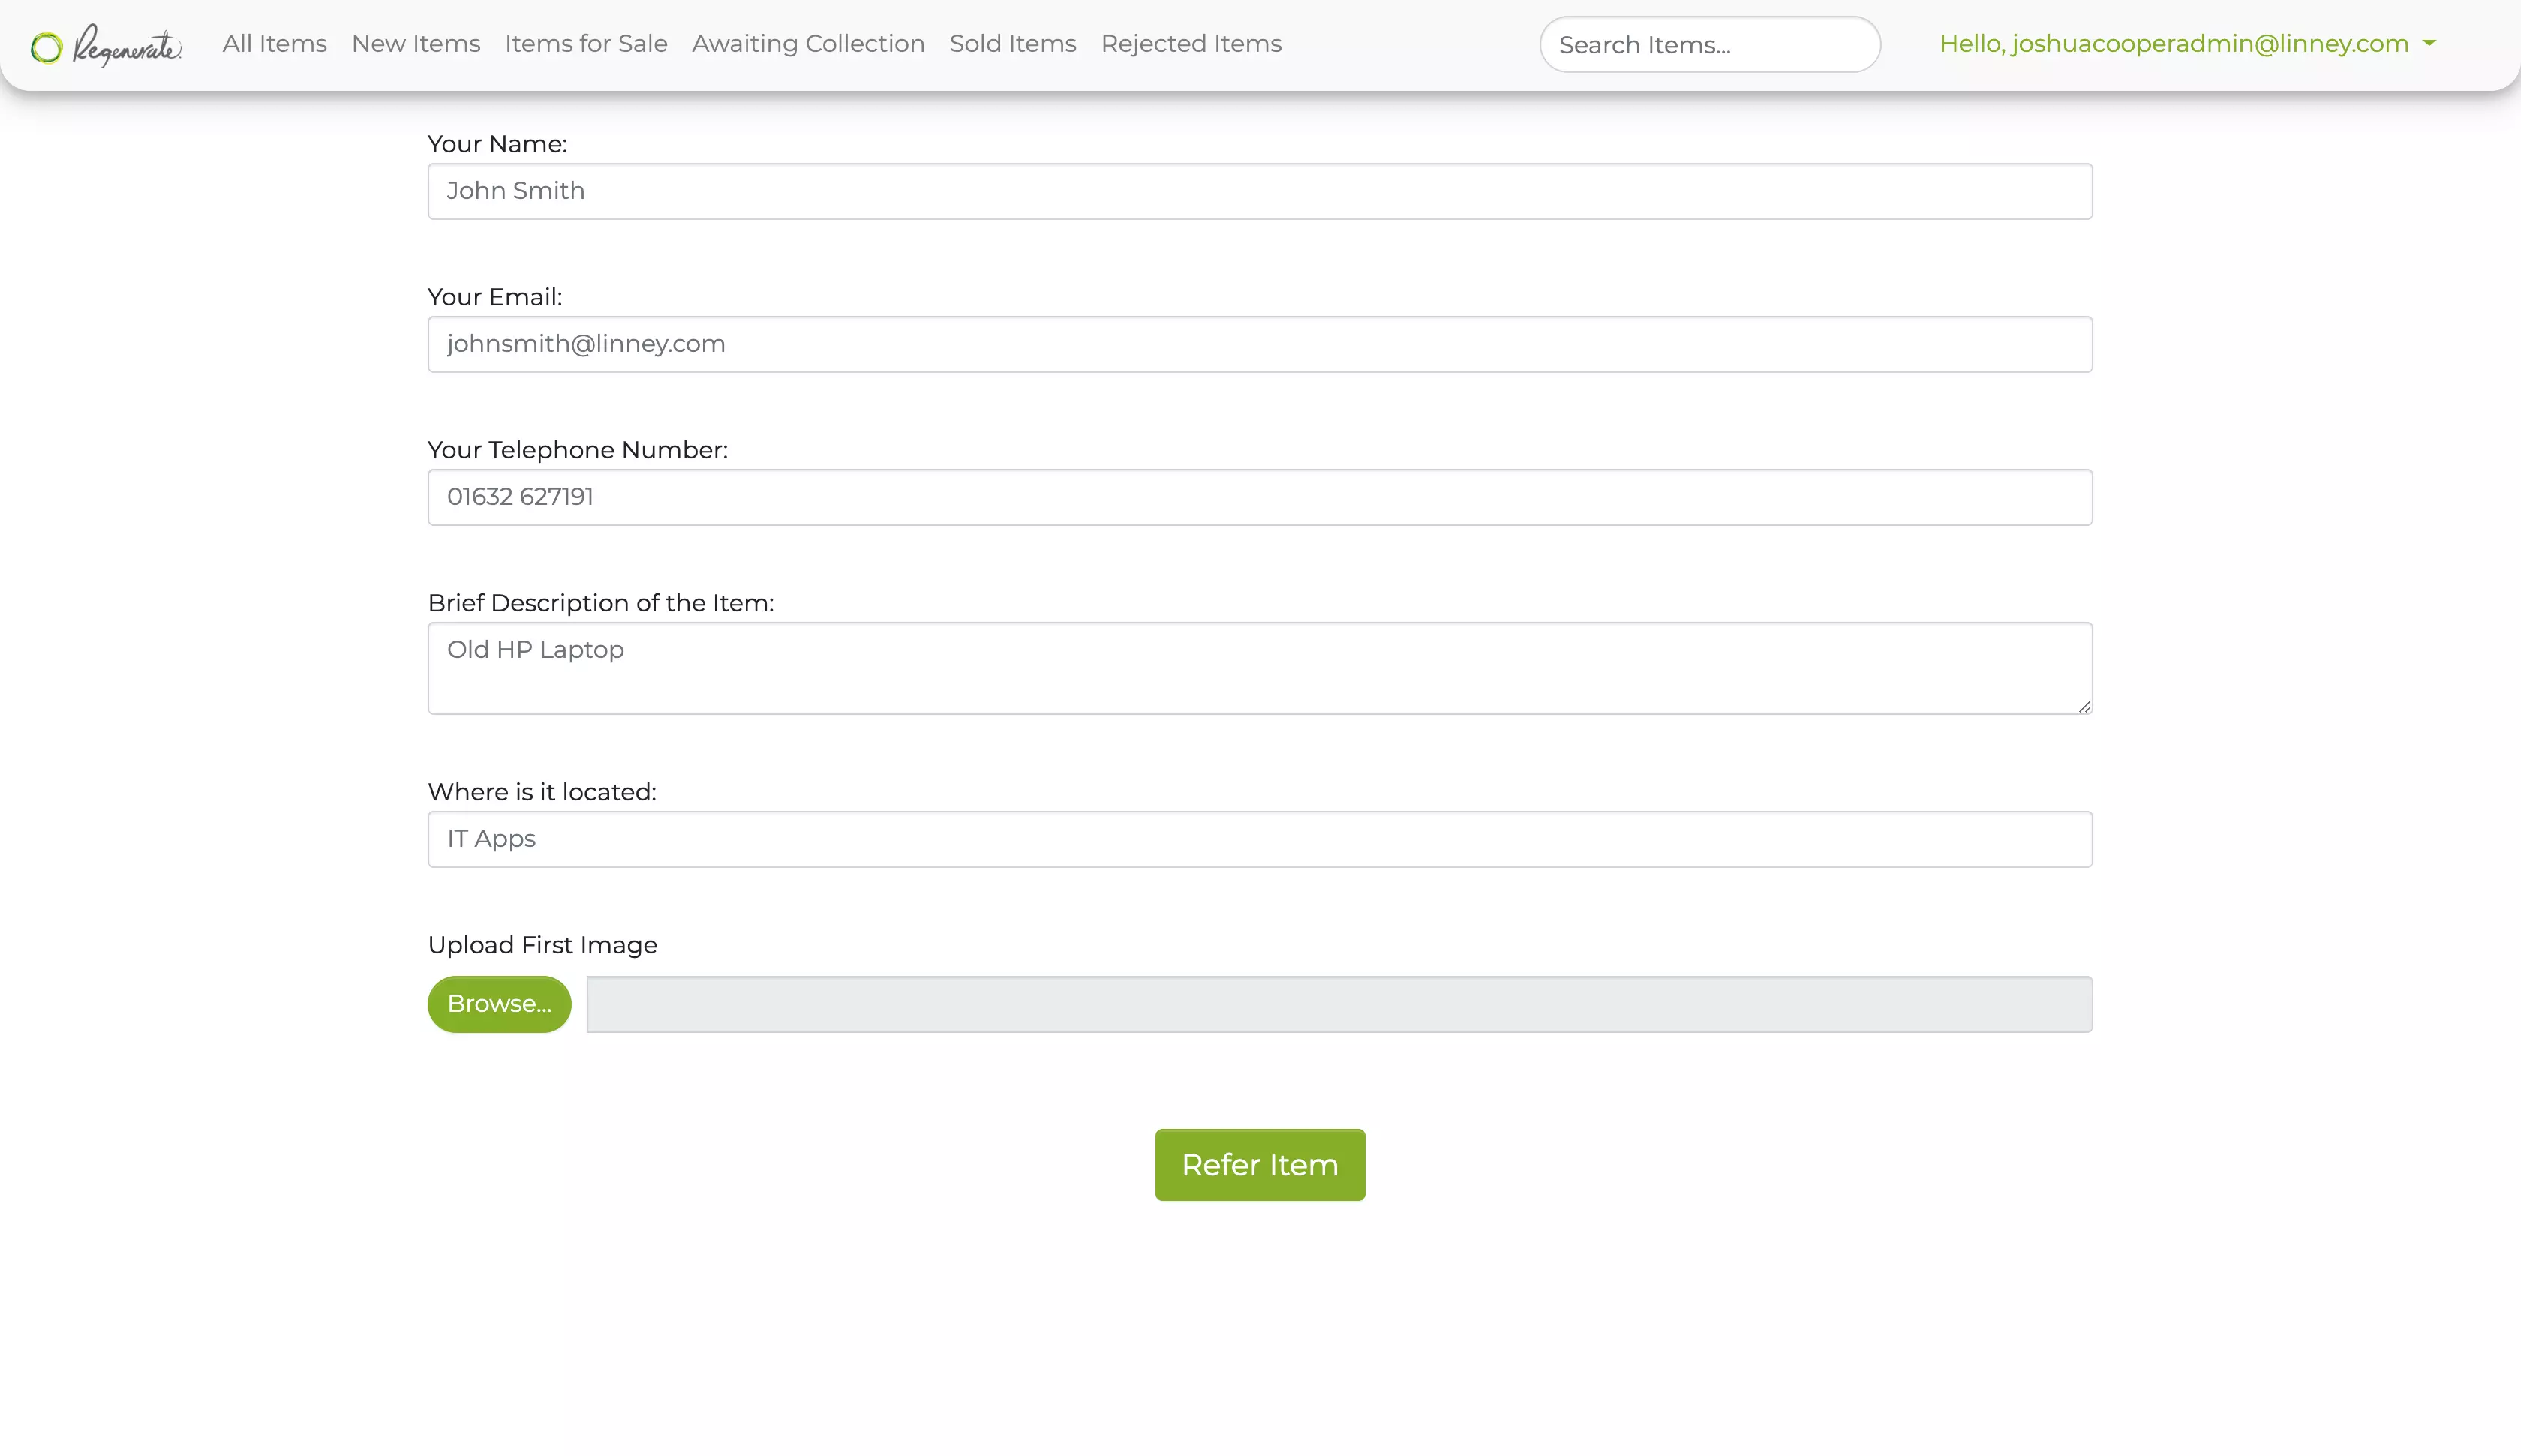
They then fill in a brief description of the item, to put this simply they just need to say what the item is.
They then answer the question of where the item is, this then helps them because they need to know where the item is so that they can collect it.
The user can upload a maximum of two images. We have placed the limit of two images because we need to ensure that the collection of images doesn’t become unreasonably large. The images are stored in the database as base 64 and then converted back. We did it this way because it provides more security for the images as we can keep them protected behind the login system and that there is as no free space on any file server to host the images.
When the form is submitted, an email is sent to the user to confirm their request and the request is recorded in the database.
How does someone login to the system?

When a person logs into the system, their roles are checked. If they are a standard user (can only make requests) they get forwarded onto the form.
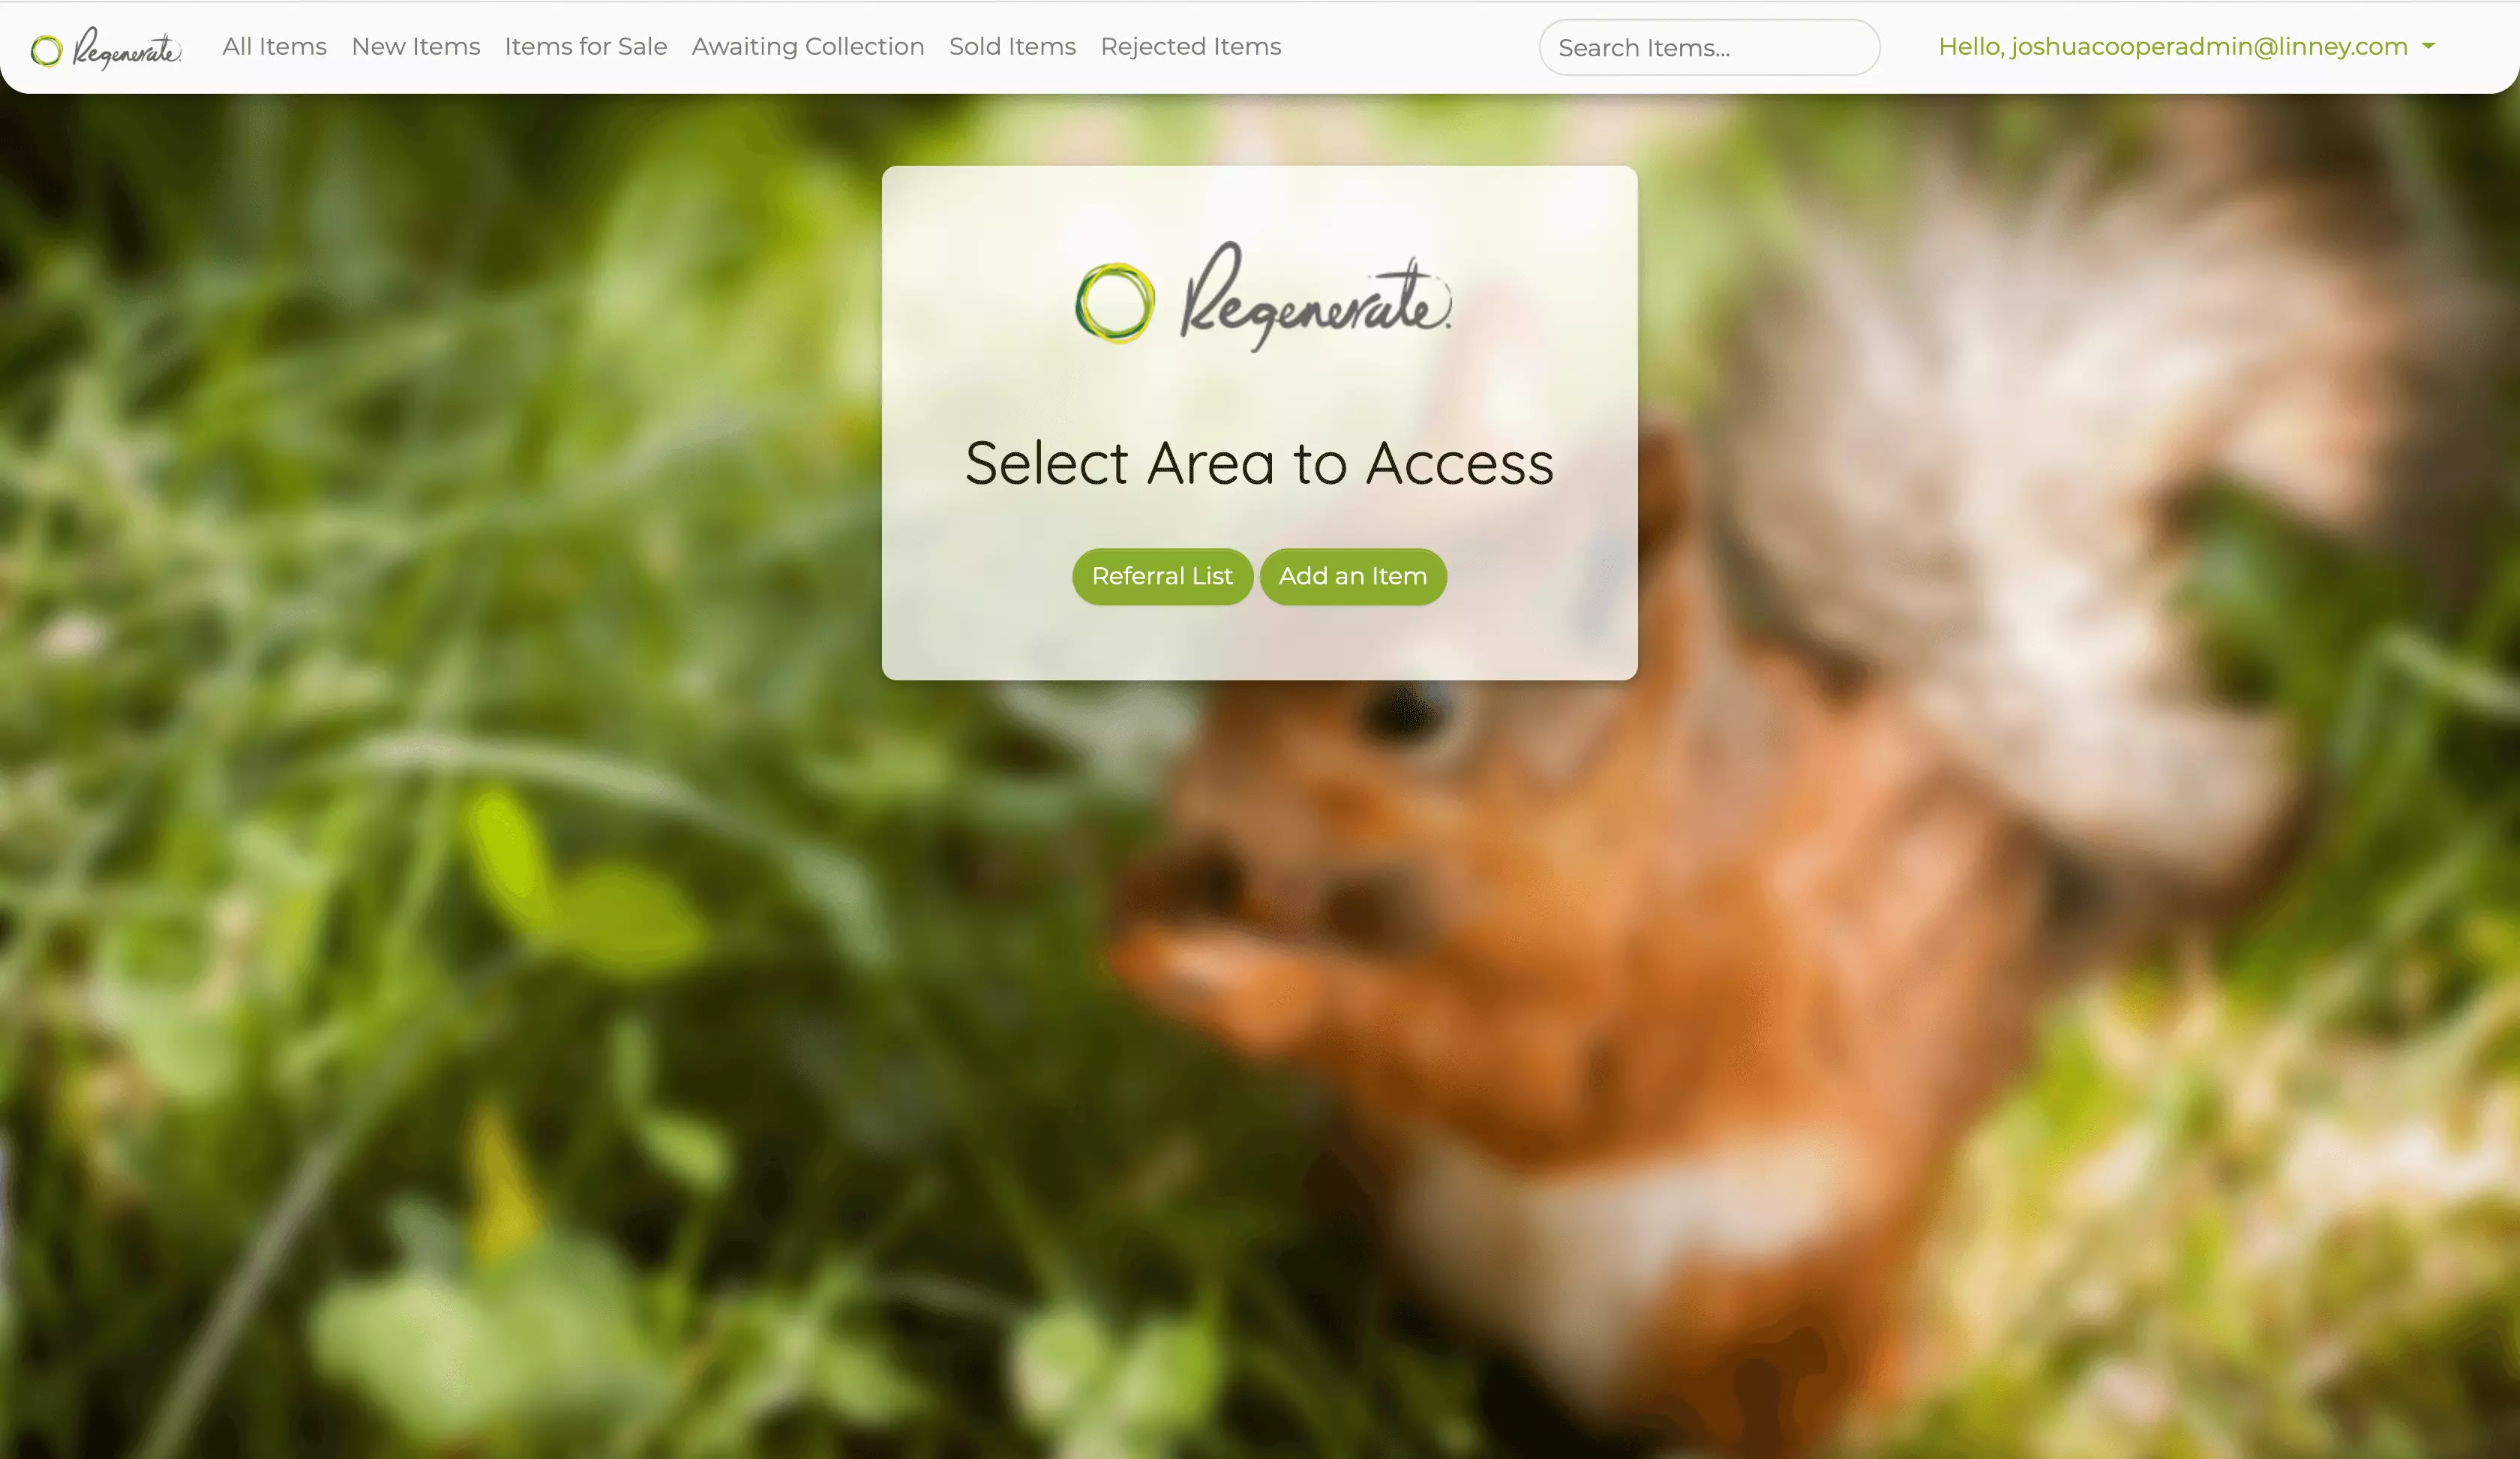
Or if they are an administrator, they get to select which area they would like to access. They can choose to go to the referral list or to add an item page, typically the only page accessible by a user. If they choose to go to the referral list, they will see a list of the items.
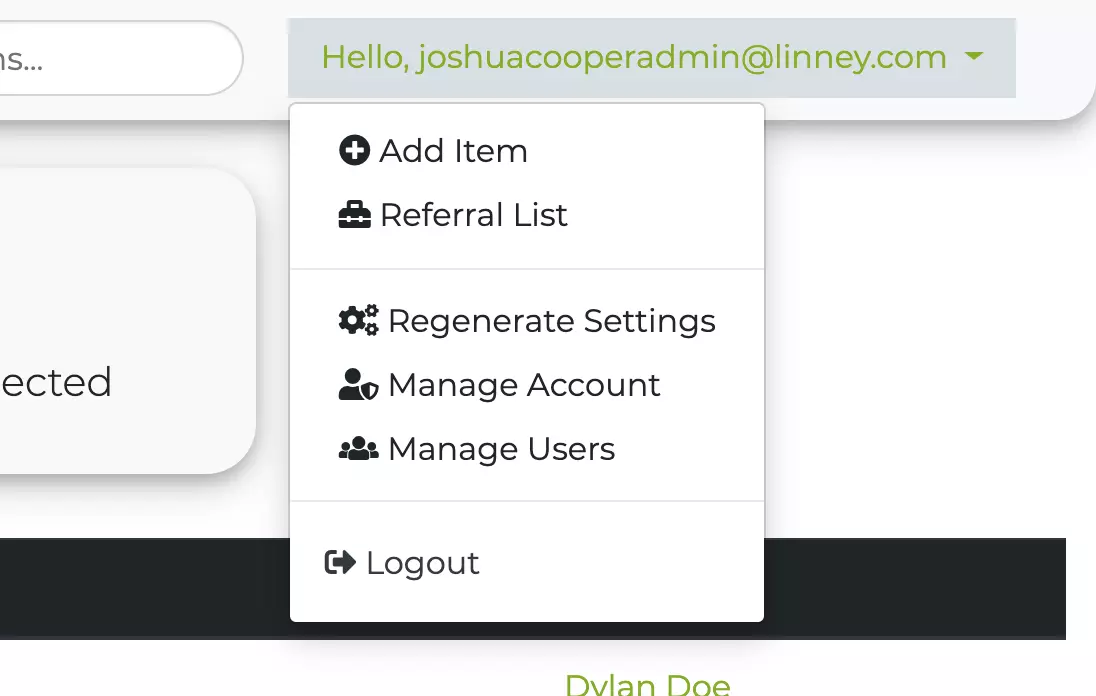
If the user is an administrator, they get a navigation bar which contains links to different pages, in a dropdown list, which needs to be used.
How are the users managed?
Here is the menu to manage the users who have logged into the software this is where the user can be given different roles, currently either User or Admin.
The User role is assigned by default when a user registers an account, they get access to the minimum level of functionality, which is creating referrals in the system, this can be used to remove a user’s level of access to the system.
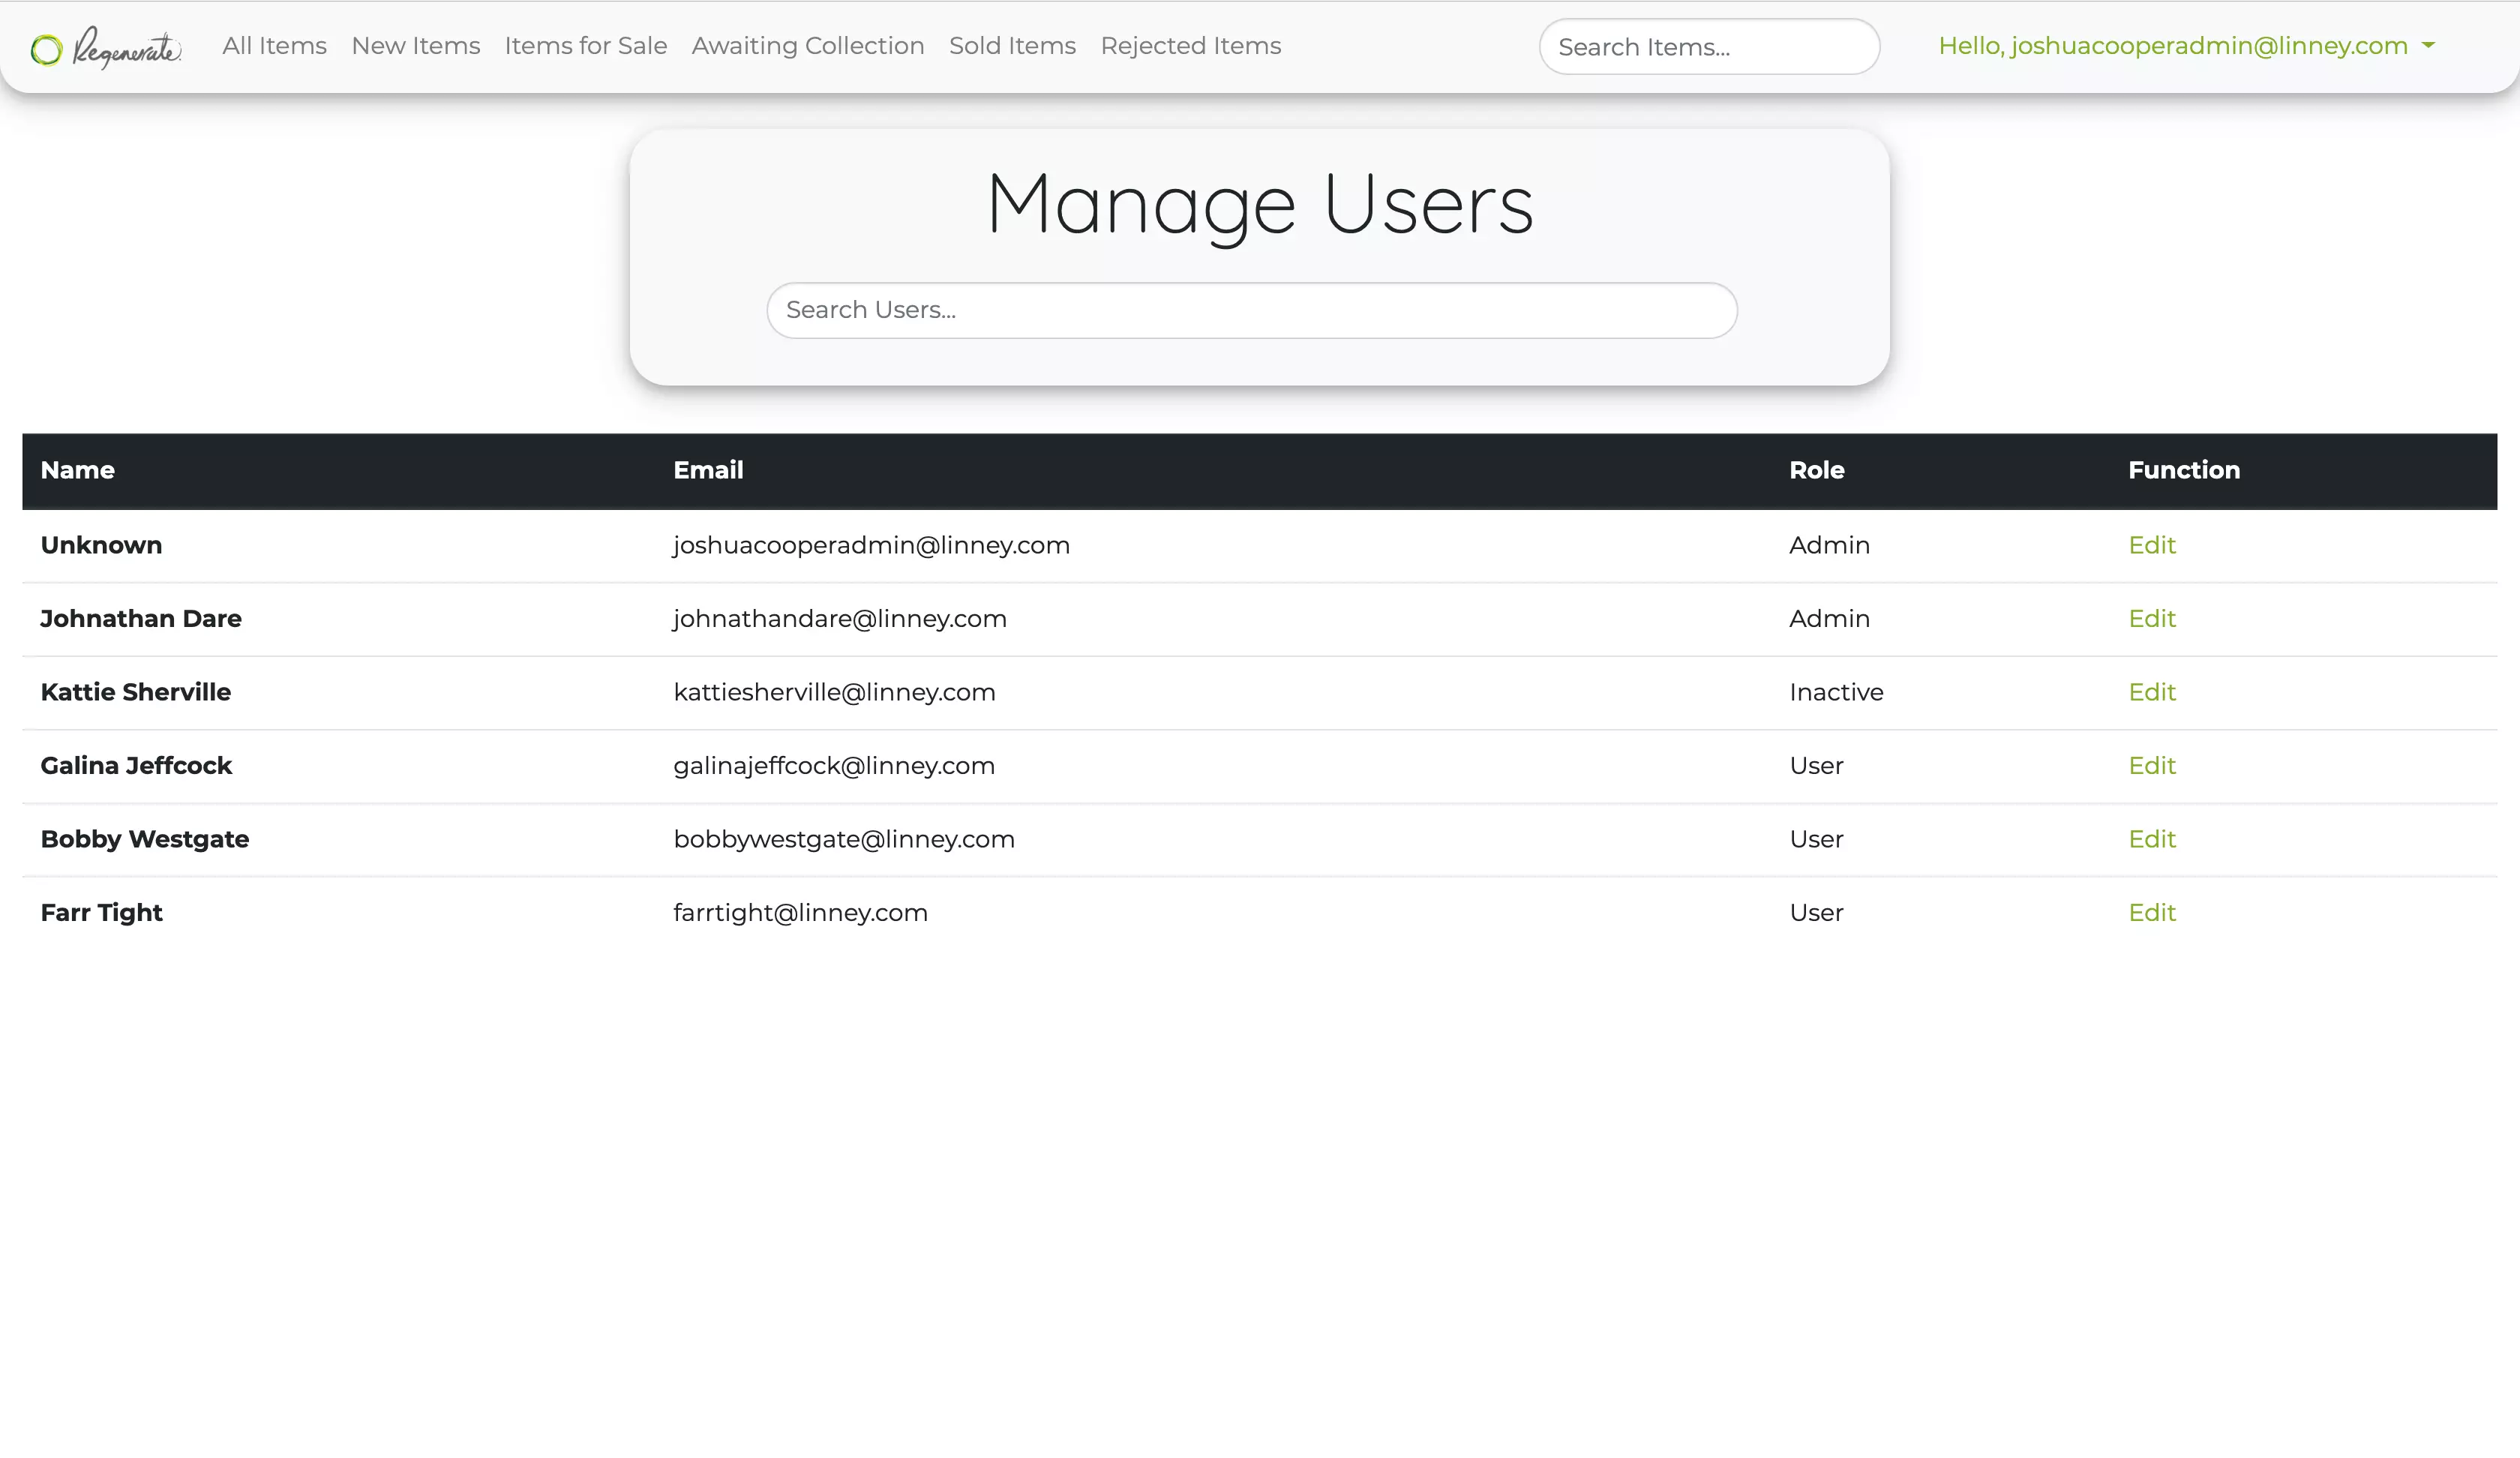
Their account can have their privileges changed, if they are changed to have the “Admin” role, they get full access to the system, they can see and manage all the referrals.
They can also be changed to be “Inactive” which disables their access fully to the system and prevents them from doing anything malicious.
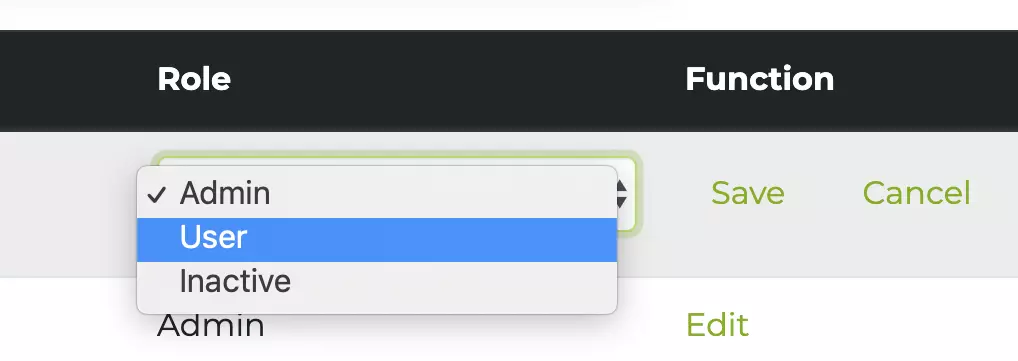
An administrator can click on edit next to the user; this makes that row editable.

From the drop-down list, the new role can be selected then save button is clicked, this then updates their role.
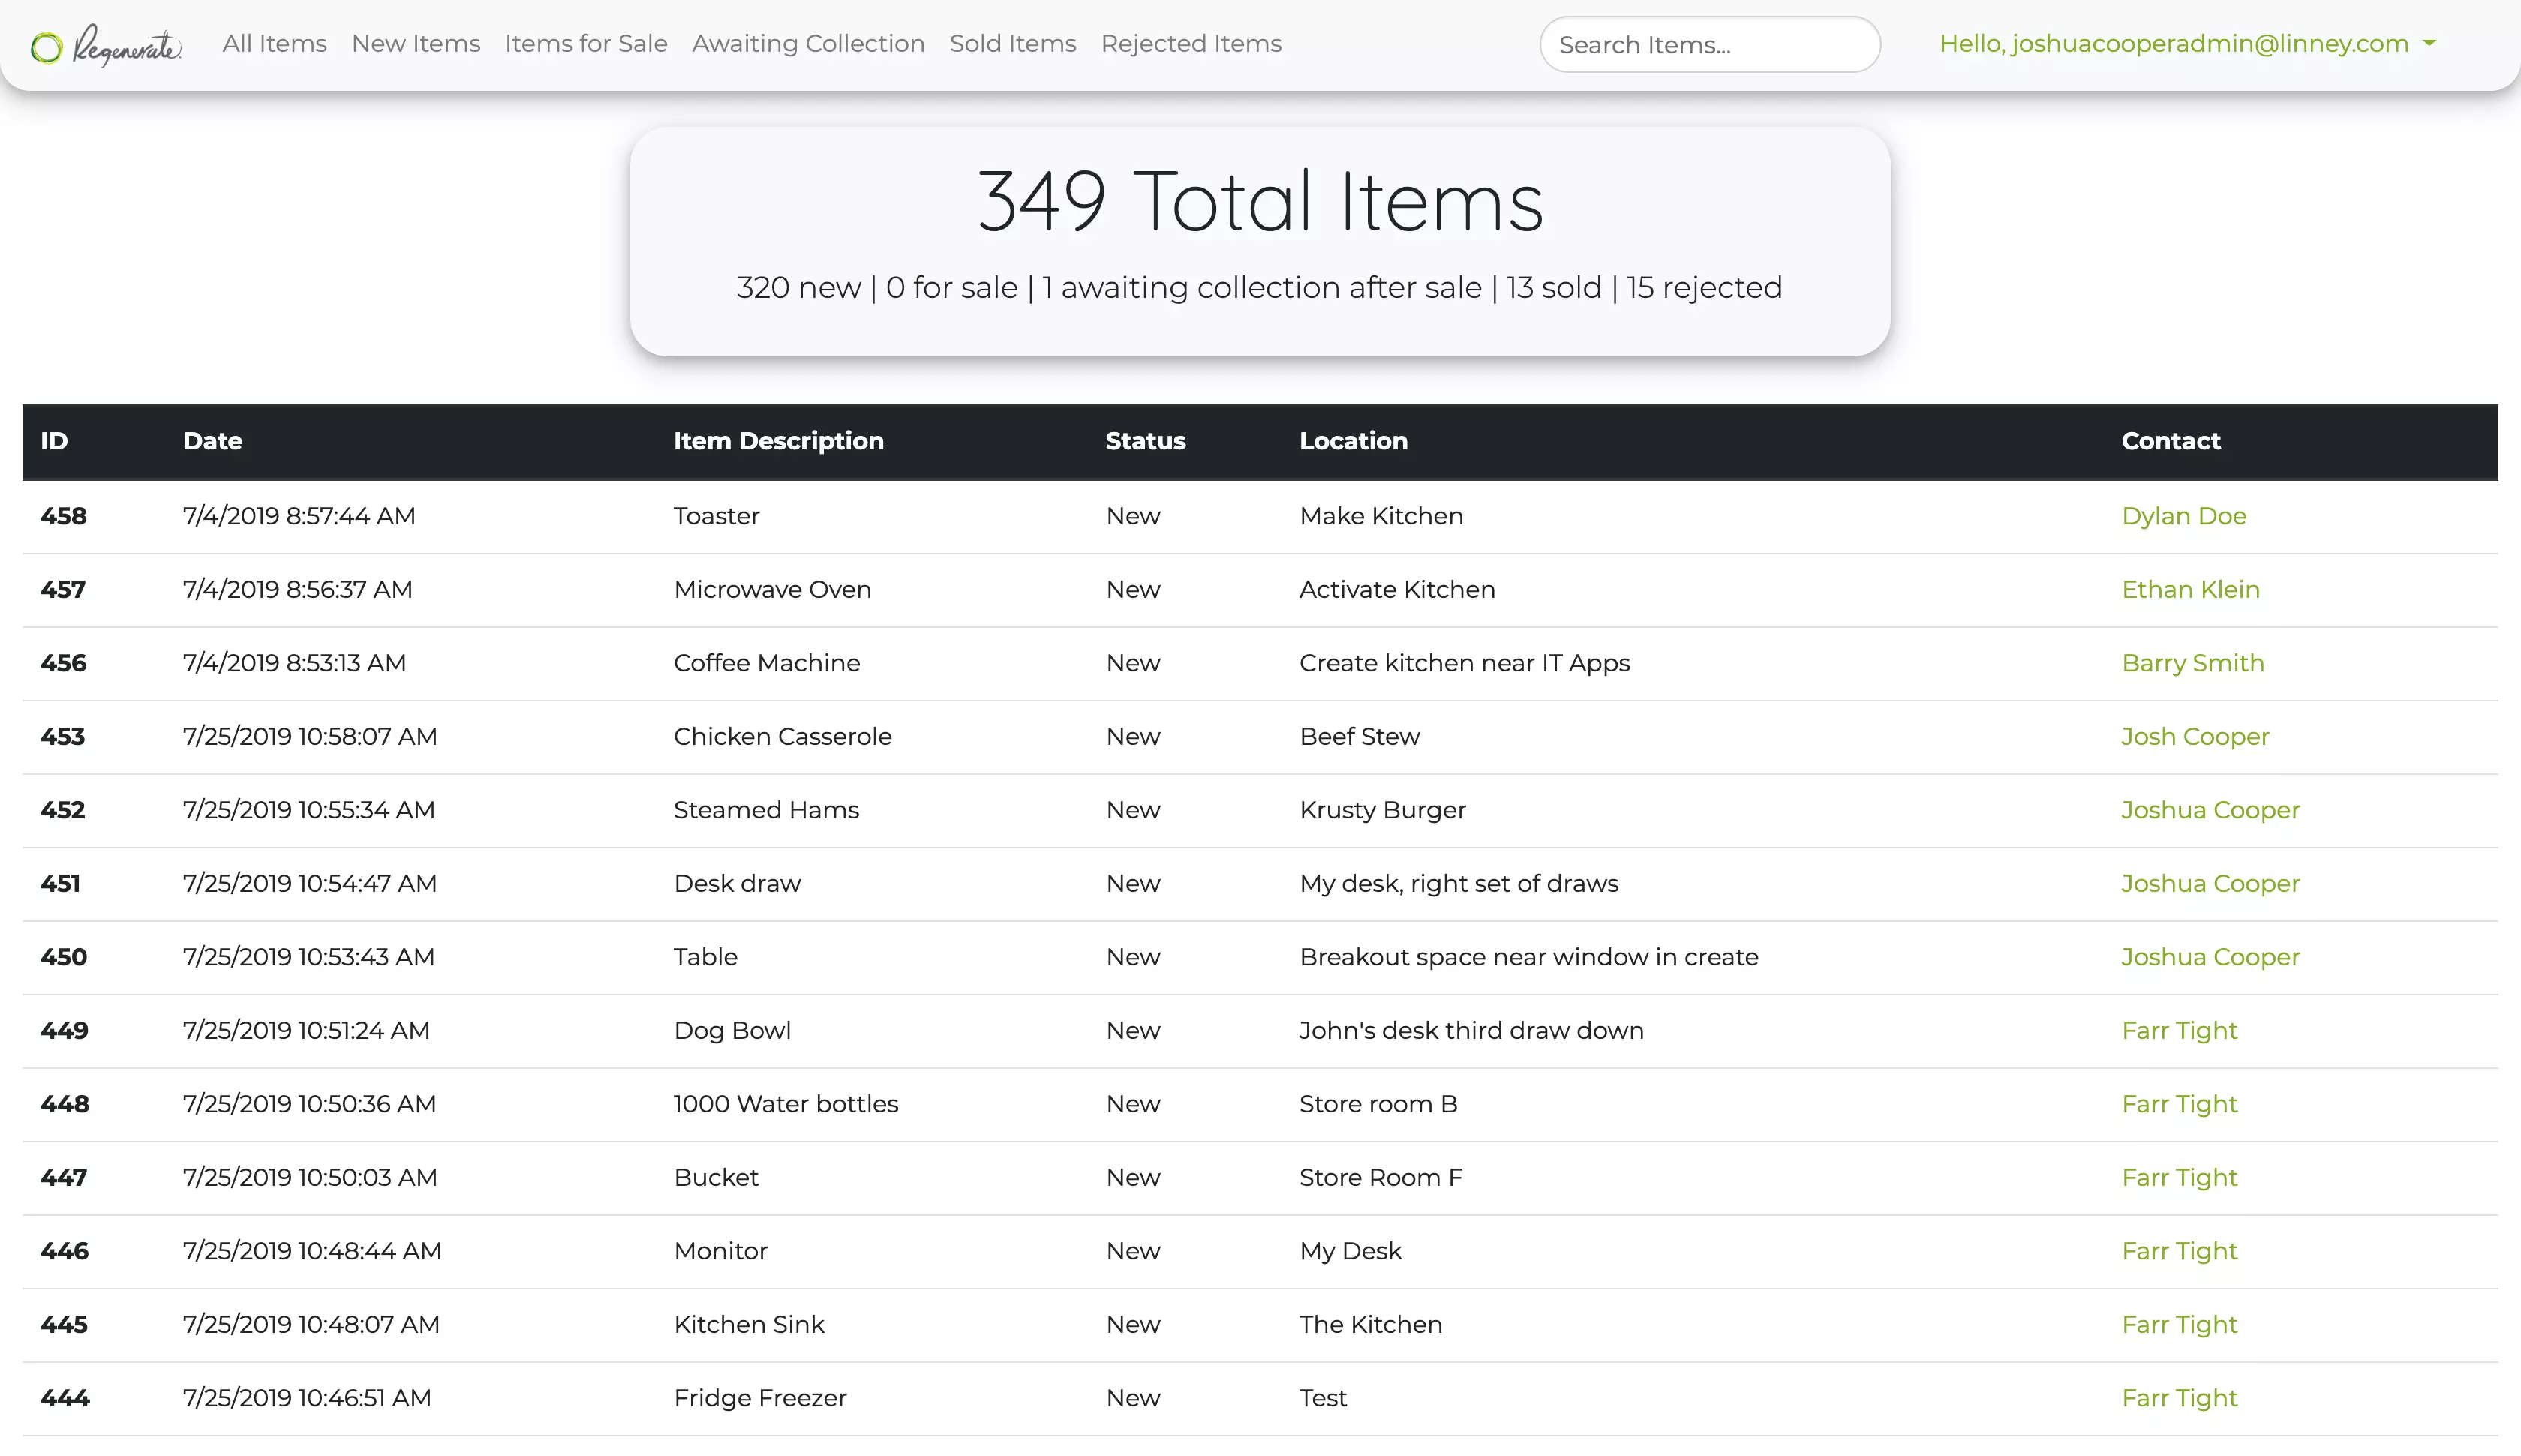
What items have been referred?
From here an administrator can update the status, get in contact with the person, this is done by clicking on the row.
When they click on the row a modal appears…
On the left, there is a form. The referral ID and the date submitted are locked. This is because the ID is used as a unique identifier and doesn’t need to be changed.
If you click on the icons next to the email and phone number, they work as hyperlinks and therefore can be used in conjunction with their email and softphone client.
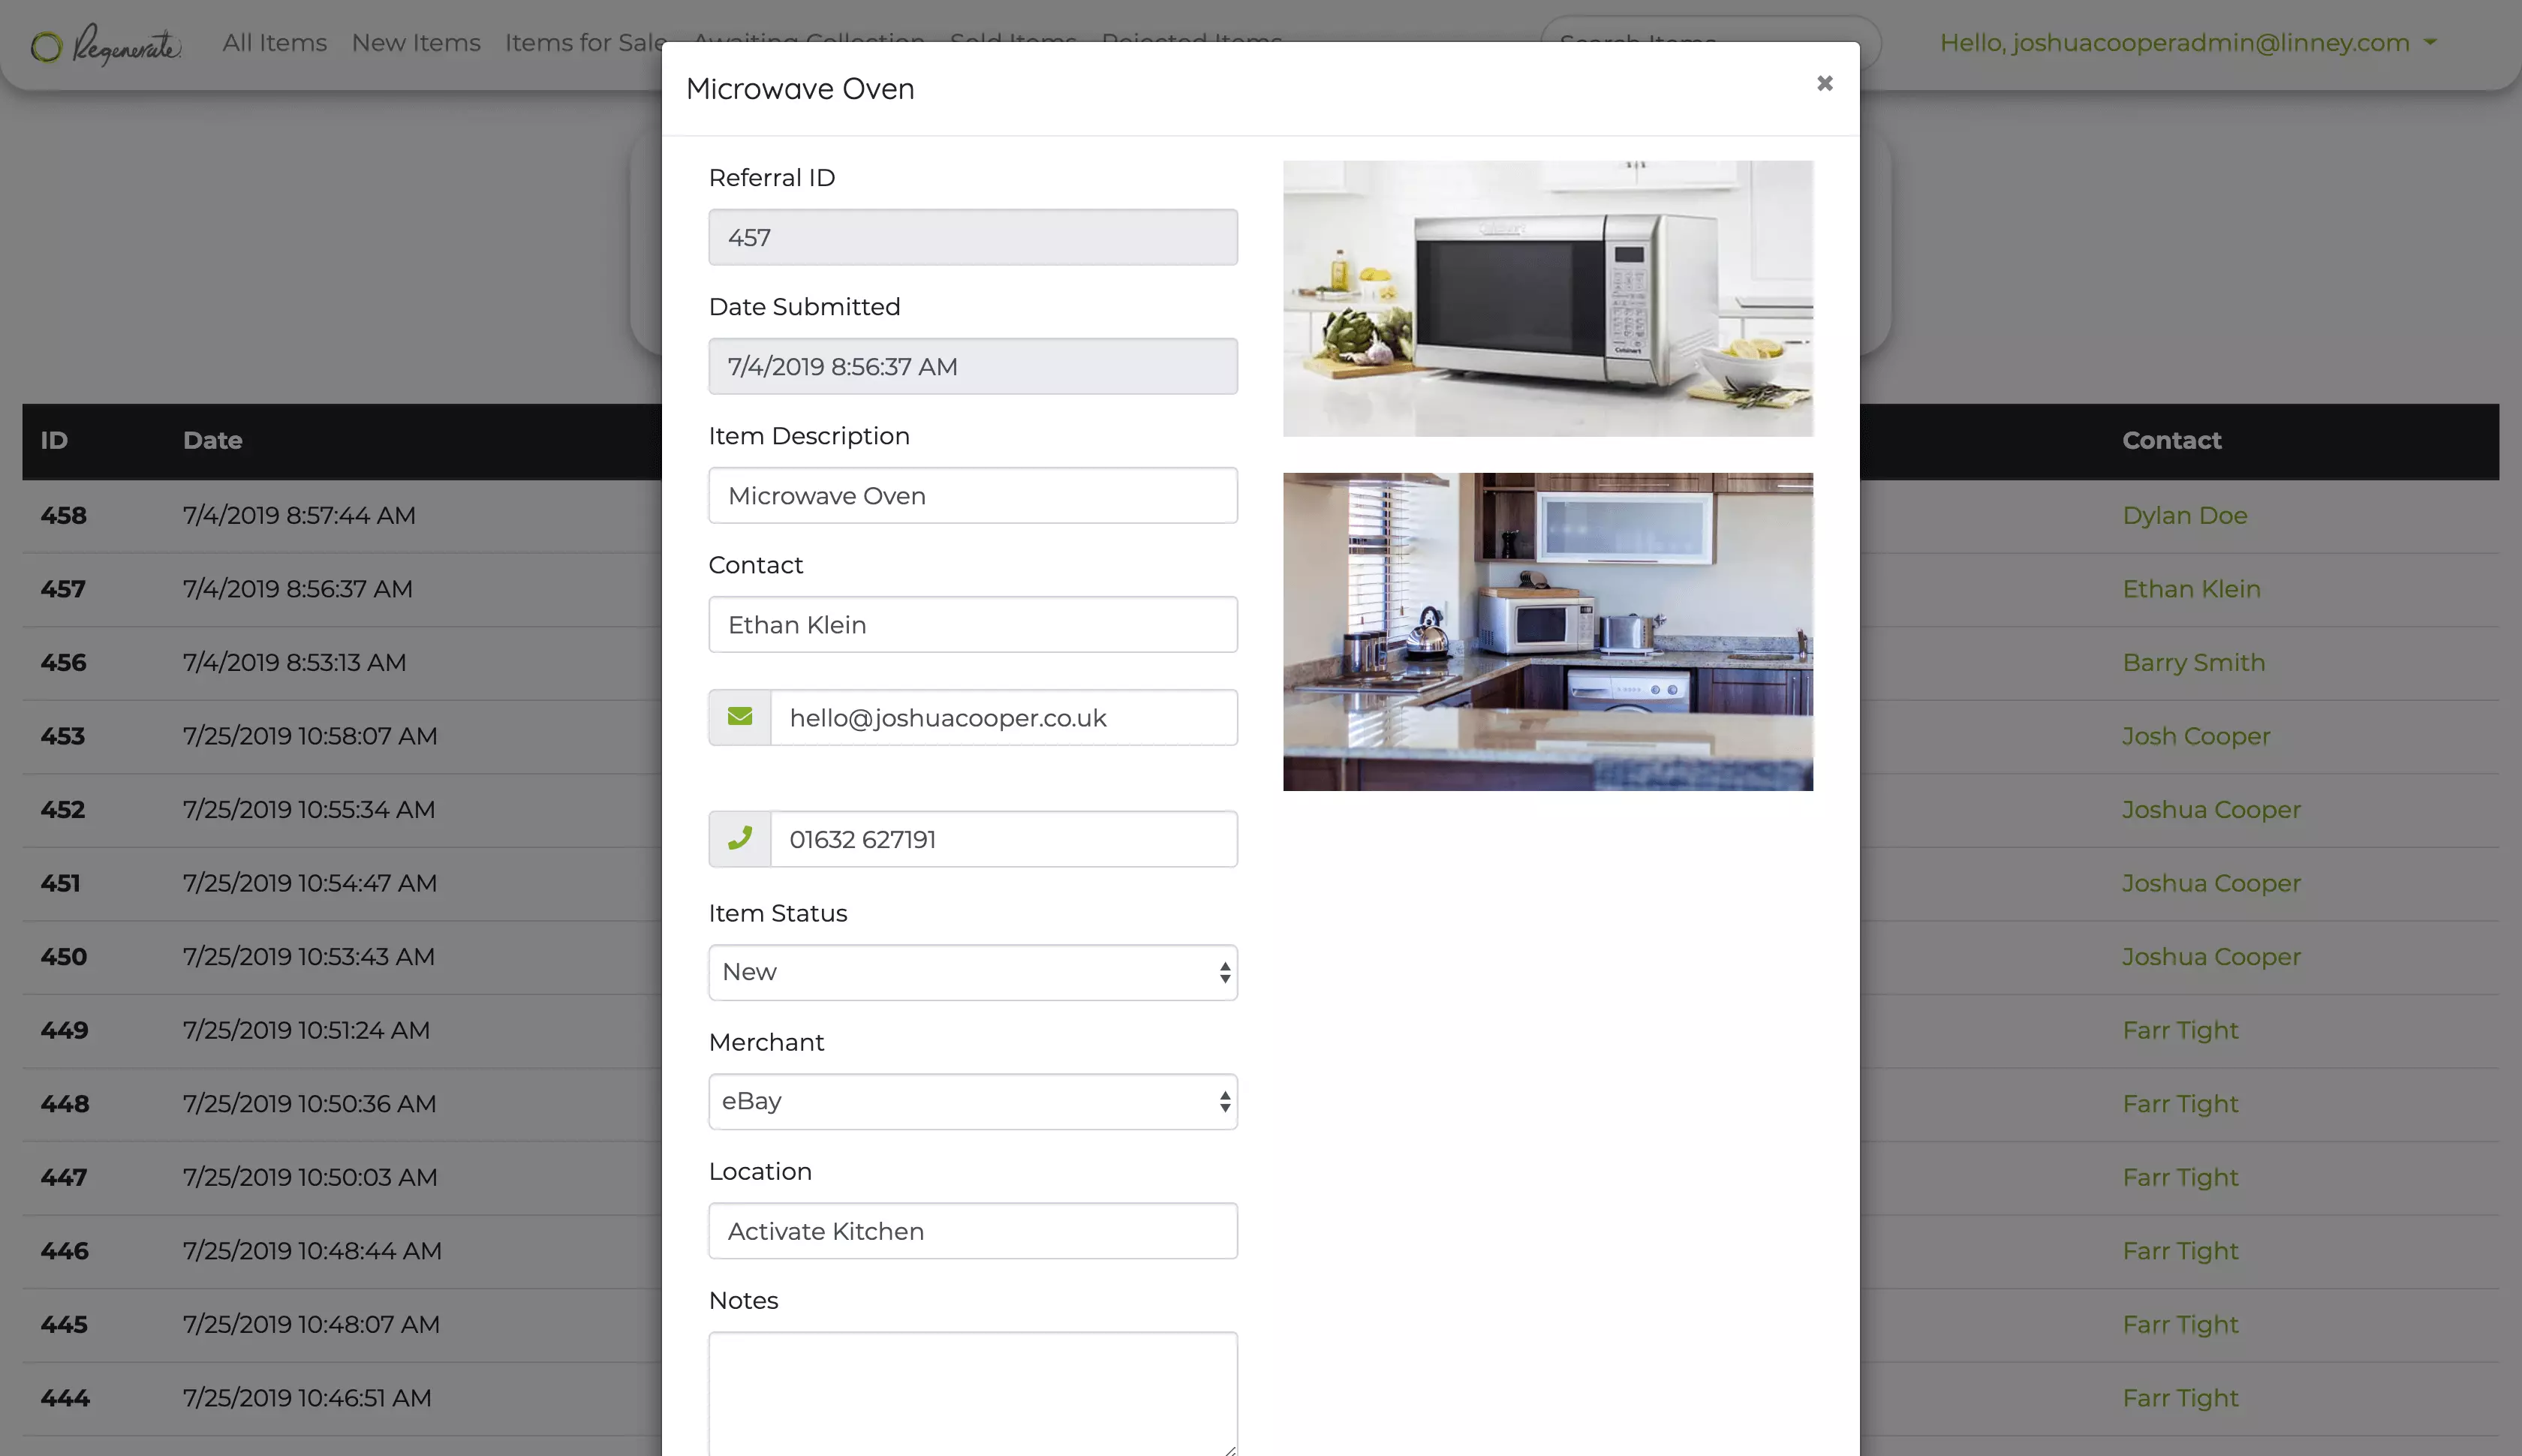
There are 4 stages that an item can be in;
- New
- For Sale
- Awaiting Collection
- Sold
- (and) Rejected
These are used to group the items; this has the effect of making the system able to filter between the status making admin time quicker.

Furthermore, if the admin selects “Sold” a thank you email or if the status is set to “Rejected” an email which says sorry and that they don’t want the item is sent to the person who made the referral.
They also can search through the items, they can be useful because the team members can find the entry they want. For example, this can be done by sharing the ID number between staff members.
This has the effect of allowing each team member to look at what they want quickly without having to go through all the possible referrals.
At the end of this modal, there are buttons for the user to save or cancel their editing.
The items are shown in pages, each with 20 items. At the end of the page, there are the controls for the pagination, this then can be used to swap between the pages.

What settings can I change?
The settings page also allows the user to change a lot of different settings, for example, they can add, remove and rename merchants.

The “change copy” is used to change the wording of text on the add a referral item section, this is useful because it allows the text to be changed quickly and regularly.
The merchants are a list of all the places which they sell items too. This is creating a drop-down list. The different merchants can be enabled and disabled, when they have been disabled, they do not show up while editing a referral item.
